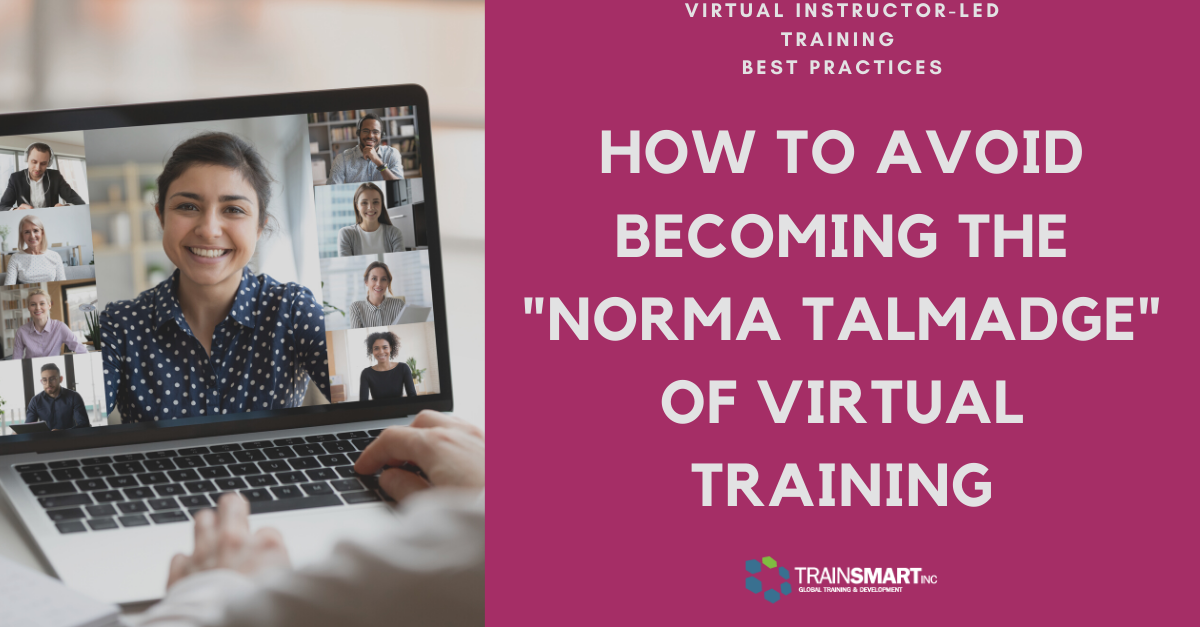
During the era of silent movies, there wasn’t a bigger star than Norma Talmadge. She was the “IT” girl for over a decade. But, when the movie industry transitioned to talkies, Norma’s star status plummeted. Along with some of the biggest stars in Hollywood, she failed to make the transition from one medium to the next.
Myth had it that their voices didn’t match their screen personas, but it was actually a bigger issue. While the silent films and talkies are both movies—just like in-person and virtual instructor-led are both pieces of training—there are critical elements of both that require very different skill sets.
As the learning and development industry transitions to offering more virtual training, professionals who had easily avoided learning the skills required for a successful online experience, now find that they have to learn these skills if they want to continue in the field.
Survival Is A Strong Motivation to Learn A New Skill
It’s been said that the entire world is grieving. For some, the grief is at the loss of life: friends, family members, neighbors, and coworkers who did not survive COVID-19. For all of us, it’s grieving for a lifestyle most of us took for granted until we didn’t. One day trainers were making airline, hotel, and car rental reservations, and writing high-level design documents. The next, they were canceling those reservations, looking at empty calendars, and reluctantly saying to themselves, “Maybe it’s time to start doing virtual training.”
Four Mistakes To Avoid When Transitioning to Virtual Instructor-Led Training
Mistake #1. Thinking You Can Do It All. Always Use A Producer.
Yes, ALWAYS. While speaking in absolutes is not recommended in business because it immediately calls your credibility into question, this is the exception to the rule. Conducting virtual training without a producer is like trying to do in-person training without handouts, visual supports, face masks, hand wipes, and enough space for everyone to socially distance.
Not only would that in-person training be a colossal failure, but it would also be very risky. Risky is the word that comes to mind for situations that don’t include a producer.
Without a producer, your training flow is likely to be interrupted several times, dealing with technical issues. These interruptions are likely to throw off your timing and force you to eliminate some planned content.
Some of the more common technical bumps include the person who forgets to mute their mic and starts having a side conversation with their children, spouse, or roommate. Then, there is a participant who is frustrated and vocal because they can’t figure out how to get their camera to work. And, most time-consuming of all is helping a participant who isn’t comfortable in the virtual space and needs extra coaching on how to maneuver the different rooms and activities.
Each issue not only robs you of valuable time for your training, but it also frustrates all the other participants who are ready and able to get to work.
Most of all, your producer has to be your understudy just in case your technology fails halfway through the training. If that happens (and it will), the producer will have to step in and continue delivering the training until you can call back into the workshop.
Needing to step in for the presenter is happening more frequently because people are working from home and are experiencing bandwidth hiccups. How many Zoom meetings have you been on recently when someone got kicked off for just a few moments?
That may not be a huge deal if it’s a participant, but when it’s the trainer, you want to have that understudy who can seamlessly take over.
Mistake #2. Skipping The Icebreaker. Icebreakers Are Not Optional.
There is a temptation in virtual instructor-led training to skip the icebreaker because the training sessions are so short. Avoid that temptation like chocolate chip cookies right out of the oven. The icebreaker, specifically the icebreaker conducted in small group sessions, plays a crucial role in setting the tone for the entire training. The icebreaker gets people engaged.
The nature of virtual training is disengagement. People are literally “talking heads.” It’s the difference between watching TV alone and attending a live theater production or a movie in the theater. Being with other people creates energy, a shared experience. But, in virtual training, with everyone’s microphones muted, that shared energy is lost. And while people can look out and see a sea of faces, the void of noise and eye contact is still isolating.
That’s where icebreakers come in. The icebreaker is like the opening act for a headline performer. The icebreaker’s job is to “warm-up” the audience.
Committing the first 10 minutes of your training for participants to visit with each other pays off in dividends throughout the training—whether the other participants are coworkers or total strangers. Those 10 minutes provide opportunities for participants to connect on a human to human level.
They may be assigned a question to ask each other, but the real purpose is just to allow participants to connect with the people who will be going on the learning journey with them. A practice recommended by Liberating Structures is to do three rounds of these conversations. Each time a participant is paired with a different person. This pairing is effortless to achieve if you work on a software platform that allows for random breakout rooms. There are several benefits:
Everyone is immediately engaged and talking to someone. It’s invigorating.
The rapid pace of the conversations and the “speed dating nature” of the matchups is energizing, and it’s fun to see who you will be paired up with next.
By the third round, participants are leaning in and ready to learn.
Mistake #3. Thinking the Content is Apples to Apples. It’s Apples to Oranges.
One of the biggest mistakes new trainers make in the virtual environment is thinking that the content and flow used in a face-to-face workshop can just be plopped into the virtual space. It can’t.
In the virtual environment, you are going to want to engage the audience more frequently. A general rule: engage learners every three to five minutes. It may just mean asking people to share their thoughts in chat and then reading them aloud; it might be taking a poll, or having them annotate a slide. You just need to have participants doing more than listening. Do something tactile. When participants know they are going to be regularly doing activities, it is easier to avoid the temptation to multi-task.
This means trainers need to look at the content and analyze what is a “need to know” and what is a “nice to know.” Plan on sharing the “nice to know” information in handouts. As you look at your content, plan on having 1/3 to half of the time conducted in activities and/or in breakout rooms. That means you need a different training design when you adapt a training to a virtual experience.
Mistake #4. Allowing more than 20 people to attend. In virtual training, Size matters.
Clients and stakeholders are going to want to have as many people in a virtual workshop as they can. The job of the trainer is to avoid having too many people. A rule of thumb is to cap the workshop at 20, 16 is ideal.
In a workshop held in a brick and mortar facility, having a few more people was usually not that big a deal. You could still make eye contact, observe if someone was distracted and design the room so you can walk around and change everyone’s perspective.
When leading a virtual training, there are just a bunch of video squares to look at. Trying to manage more than 20 takes a herculean effort. While many platforms have “engagement tools” that you can use, it’s often the producer’s job to manage those tools and then share the information via a private chat.
One of the best ways to connect with participants is to say their names, read their responses to a chat question, call on them in a group discussion. Ideally, a trainer should have at least one touchpoint with every participant. Given that a virtual training should not run more than 120 minutes (with a 5 min stretch break built-in), having more than 20 makes that goal very hard to achieve.
Four Ways To Get Your Groove On As a Virtual Trainer
Let’s face it: Most trainers who have spent the majority of the careers doing in-person training, don’t like training in the virtual environment. They’ll often say that it makes them feel like they are off their game. They complain they can’t read or connect as well with their participants. They miss the elements that make being a professional trainer/facilitator so rewarding– seeing the light bulbs go off and the learning internalized.
So, if a trainer/facilitator’s favorite part of their work is absent, can they still do a great job and eventually learn to enjoy this training experience?
While virtual training may always end up on the runner-up list of working preferences, it doesn’t have to be dreaded.
Stand UP
The most important reason to stand up during your training session is to make you feel like you are training instead of talking to a non-responsive camera lens. The importance of that cannot be overstated. When you stand, you experience the familiarity of your stance; you have the freedom to move your hands(in a way that you can’t when you are seated in front of your computer). This helps activate your muscle memory. It tells you, “I’m training.” It will automatically make you feel more confident that “you’ve got this because you know how to do this.”
If you are physically positioned as you would be in a traditional brick and mortar classroom, you will suddenly start feeling like you are in a classroom. You will feel more like yourself. More like a facilitator/trainer.
Standing up during a training session does require adapting some equipment. You’ll want to get a standing desk to make sure your laptop and camera are at the right angle (see # 5 on the importance of being camera-ready).
Use a Teleprompter
When you are doing virtual training, to make eye contact with participants, the trainer can’t actually look at any of the participants. They have to look directly into the camera’s lens. It not only sounds counterintuitive. It feels counterintuitive. In live training, it’s hard to hold eye contact with an individual for more than 3-5 seconds. It’s even harder to look straight at a camera lens for more than 3-5 seconds.
The difference- is that when you are sharing a physical space with another human being, breaking eye contact and then reconnecting does not hinder your credibility. In the virtual world, people are used to seeing newscasters and people making televised speeches holding their eye contact nonstop – thanks to teleprompters.
Unfortunately, the newscasters and speechmakers have set a precedent, and unconsciously, the participants in your training expect the same level of eye contact from their virtual instructor.
So, what feels natural—to glance down, and then look at all the participants in “gallery view” because from your vantage point that feels like making eye contact— it is actually sending a very different message to your participants. The message of not making eye contact. Whenever you divert your eyes from that camera, you are subconsciously communicating that you don’t know your material or that you are not trustworthy.
For most of us, the only way to give the appearance of eye contact is to use a teleprompter. Several available apps allow you to convert your smartphone or tablet device into a teleprompter. While you may not want to script out your entire training – it’s a good idea to use the teleprompter for your opening welcome statement as well as for major transitions. Using a teleprompter takes practice – a lot of practice. So before you try using it, make sure you are as comfortable using the teleprompter as you are using the features of the virtual platform you are training on.
Read The Room With Emoticons
When asked what is the most challenging part of transitioning from working with a “live” audience to a virtual one, most will say, “it’s the inability to read the room.” Strong facilitators/trainers have an uncanny ability to read the room and then pivot when necessary to make sure that the participants are engaged and learning. However, in the virtual space, reading the room is nearly impossible. It’s challenging to read someone via a floating video square, and if the facilitator/trainer wants to make eye contact, they need to keep their eyes on the camera, and not on the participants.
Instead of attempting to recreate an in-person experience that is not re-creatable, remember the phrase, “When in Rome….” When you are training in a virtual environment using the tools that are part of that environment to help give you cues about your audience’s mood and receptiveness.
We’re talking emojis. ✔️ 🔥 💤❓ 👍 👎 🦗. In the virtual space, to read the room, the facilitator/trainer needs to ask people how and what they are feeling rather than inferring their emotions. Regularly asking participants to post their reaction to information, an exercise, or a comment, can provide the facilitator/trainer with a very accurate read of the room. To do this, the facilitator/trainers can pick a handful of emoji’s from emojipedia.org. Pick four or five emojis that you want participants to use. It’s easy to make a copy of each emoji. Then, as part of your introductory remarks, post the emojis in the chatbox, and explain that participants can copy and paste emojis throughout the workshop. If it is easier, they can copy and paste the selected emojis into a “notepad” and then access the emoji’s whenever they need to provide emotional or attitudinal feedback. Using the emoji feedback will not only help read the room; it communicates to participants that you are listening to them, and you will pivot if the feedback communicates that you need to.
Lights, Camera, Action!
There is a reasonable debate about whether people should use virtual backgrounds instead of their actual offices during a video call or training. Some proponents are adamant that virtual backgrounds should never be used because they are “fake.” Having the Golden Gate Bridge in the background when you are training from Duluth, Minnesota, may confuse or create unwanted curiosity over “what you are hiding” about your space. However, for some, their “real” environments don’t translate well to the small screen, or they simply do not feel like sharing their private space with participants of online training. If you choose to use a virtual background, use a nondescript one – a solid color, the name of the workshop, or perhaps a logo.
Whether you are training with a laptop, tablet, or smartphone, the key to looking professional is to make sure the camera is at eye-level. That means if you are doing your training standing up, you need to prop up the camera so that it is at eye level. Whether seated or standing, having your phone or computer at eye level is key. Many people instinctively push their screen back. Unfortunately, that angles the computer camera to look right up your nose.
You may also want to look into upgrading your computer camera. Most of them are mediocre at best, and the angle from the laptop to your face creates a look that is off-putting and gives the impression that you are not paying attention. Many of the eternal webcams allow you to adjust the angle, giving you more control over how you look.
Depending on how much virtual training you plan to deliver, there are three tools to help you “look” professional: Additional lighting, a professional microphone, and a webcam. The lighting is essential. Ever since people have been sheltering at home, we have seen the unfortunate results of people appearing on TV with bad lighting.
Like the camera, you want your lighting at eye level and in front of you. Having the right lighting allows you to connect more personally with your participants because, with the right lighting, your participants are more likely to be able to see your facial expressions.
Just as you need an external camera and lighting, you also should look into having an external MIC. – it will up the quality of your voice exponentially. And, finally, consider wearing headphones throughout the session. When you have headsets on, you avoid the potential of getting feedback from your computer speakers. They also help limit the amount of background noise that is projected into your video.